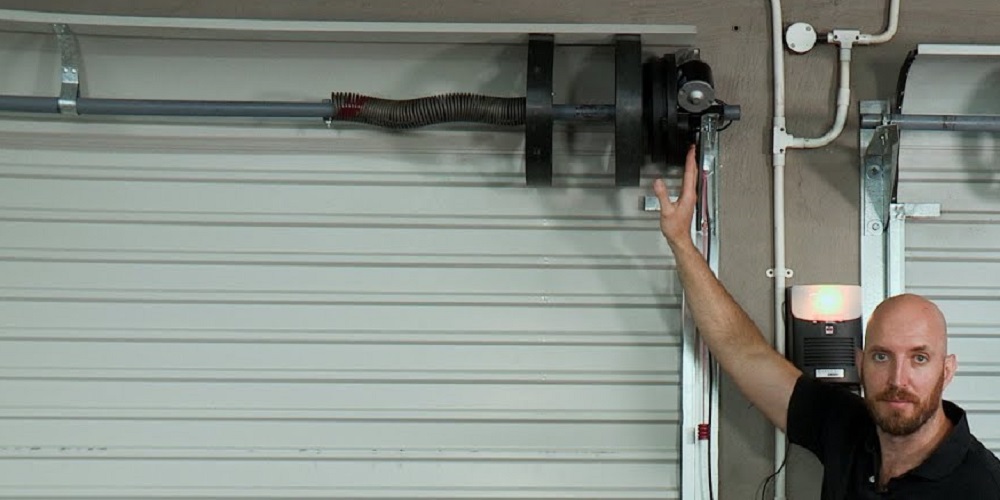
With the passage of time, your roll-up garage door spring can show signs of rusting and will give sounds of grinding and popping during the opening or closing of the door. If your garage door is noisy or showing these signs then the time has come to replace the springs of your door. It will be difficult for the door to open and close properly or evenly if the coils of the spring are rusted. The door will not easily stay open or closed because of this. For replacing the springs safely you should have proper knowledge of the steps or instructions and should have suitable tools for completing the task perfectly. If you are feeling that you don’t have suitable tools or you are not proficient in the replacement of springs then you can contact any expert or professional. Professionals can help you in solving the issue. Although replacing the spring is not so difficult, you should take suitable measures for doing it. These springs can be highly stretched due to the tension in them. So you should be extremely cautious. You can visit several websites online for roll up garage door spring replacement.
Replacement of spring
While getting the spring for replacement, you should first measure the entire opening of the garage door. After that, you should take measurements of the inside diameter and length of the spring in an unstretched condition. Keep in mind to measure the length accurately from one end to the other.
For the replacement of your roll-up garage or self-storage door spring, the following items are required.
- Drill(cordless) and vise grip pliers
- Nut drivers for sizes 5/16” and 3/8”
- Wrench for size 7/16” and 1/2”
- And a ratchet with a 7/16” socket, and 1/2 socket
Removal of the door assembly
The first method is the replacement of the spring with the removal of the door assembly. Let’s see the steps below:
- Use a ladder for entering the unit and roll up the door using your hands or manually. Then you have to remove the curtains and tie the ropes around the ends or edges of the door for keeping it in the tight coil.
- Now you have to check for bolts that must be attached to the brackets and guide. Now check if the carriage bolts are 1 by 4-20 then you have to use a ratchet for removing the nuts. Also, remove the 7/16” socket.
- After that use a suitable size nut drive which will help in removing the fasteners. They must be connecting the brackets to the back plates.
- Now bring the whole door assembly down to the floor or ground and remove the brackets and pins(cotter) carefully from the axle.
- Now by rolling out the garage door so you can check the springs
- Carefully remove the nut, bolt, and the washer
- Now you can take off the rusted spring easily and can install the new one.
- For installing the spring repeat these steps in a reverse manner
You can also replace the spring from your garage door without removing the door assembly. But the removal of assembly is the better option as you can also check the other parts of the door and can go for renovation if any part like frame or windows are damaged.

